SURF Research Cloud (SRC) lets you run a workspace: a virtual machine with a defined hardware configuration and tools preinstalled. For image analysis this means you can get a machine with an NVIDIA GPU, ready for AI-based tools, without installing anything yourself.
These instructions describe how to work on an existing workspace. If you want to learn how to create your own, see the SRC documentation.
1. Access your workspace
You received a URL: open it in your browser. You may be asked to log in with your account.
You did not receive a URL: log in at https://
portal .live .surfresearchcloud .nl and open your workspace from the dashboard.
An image analysis workspace comes in one of two flavours:
| Workspace | What you get | Use it for |
|---|---|---|
| Linux desktop | A full Ubuntu desktop in your browser, with JupyterLab running on the same machine | GUI tools (napari, Cellpose, …) and notebooks |
| Jupyter | JupyterLab only, on its own workspace | Notebooks |
During the course we use the Linux desktop.
2. Linux desktop
The desktop opens in your browser via the link you received or from the portal. Here you can run GUI tools such as napari or Cellpose.
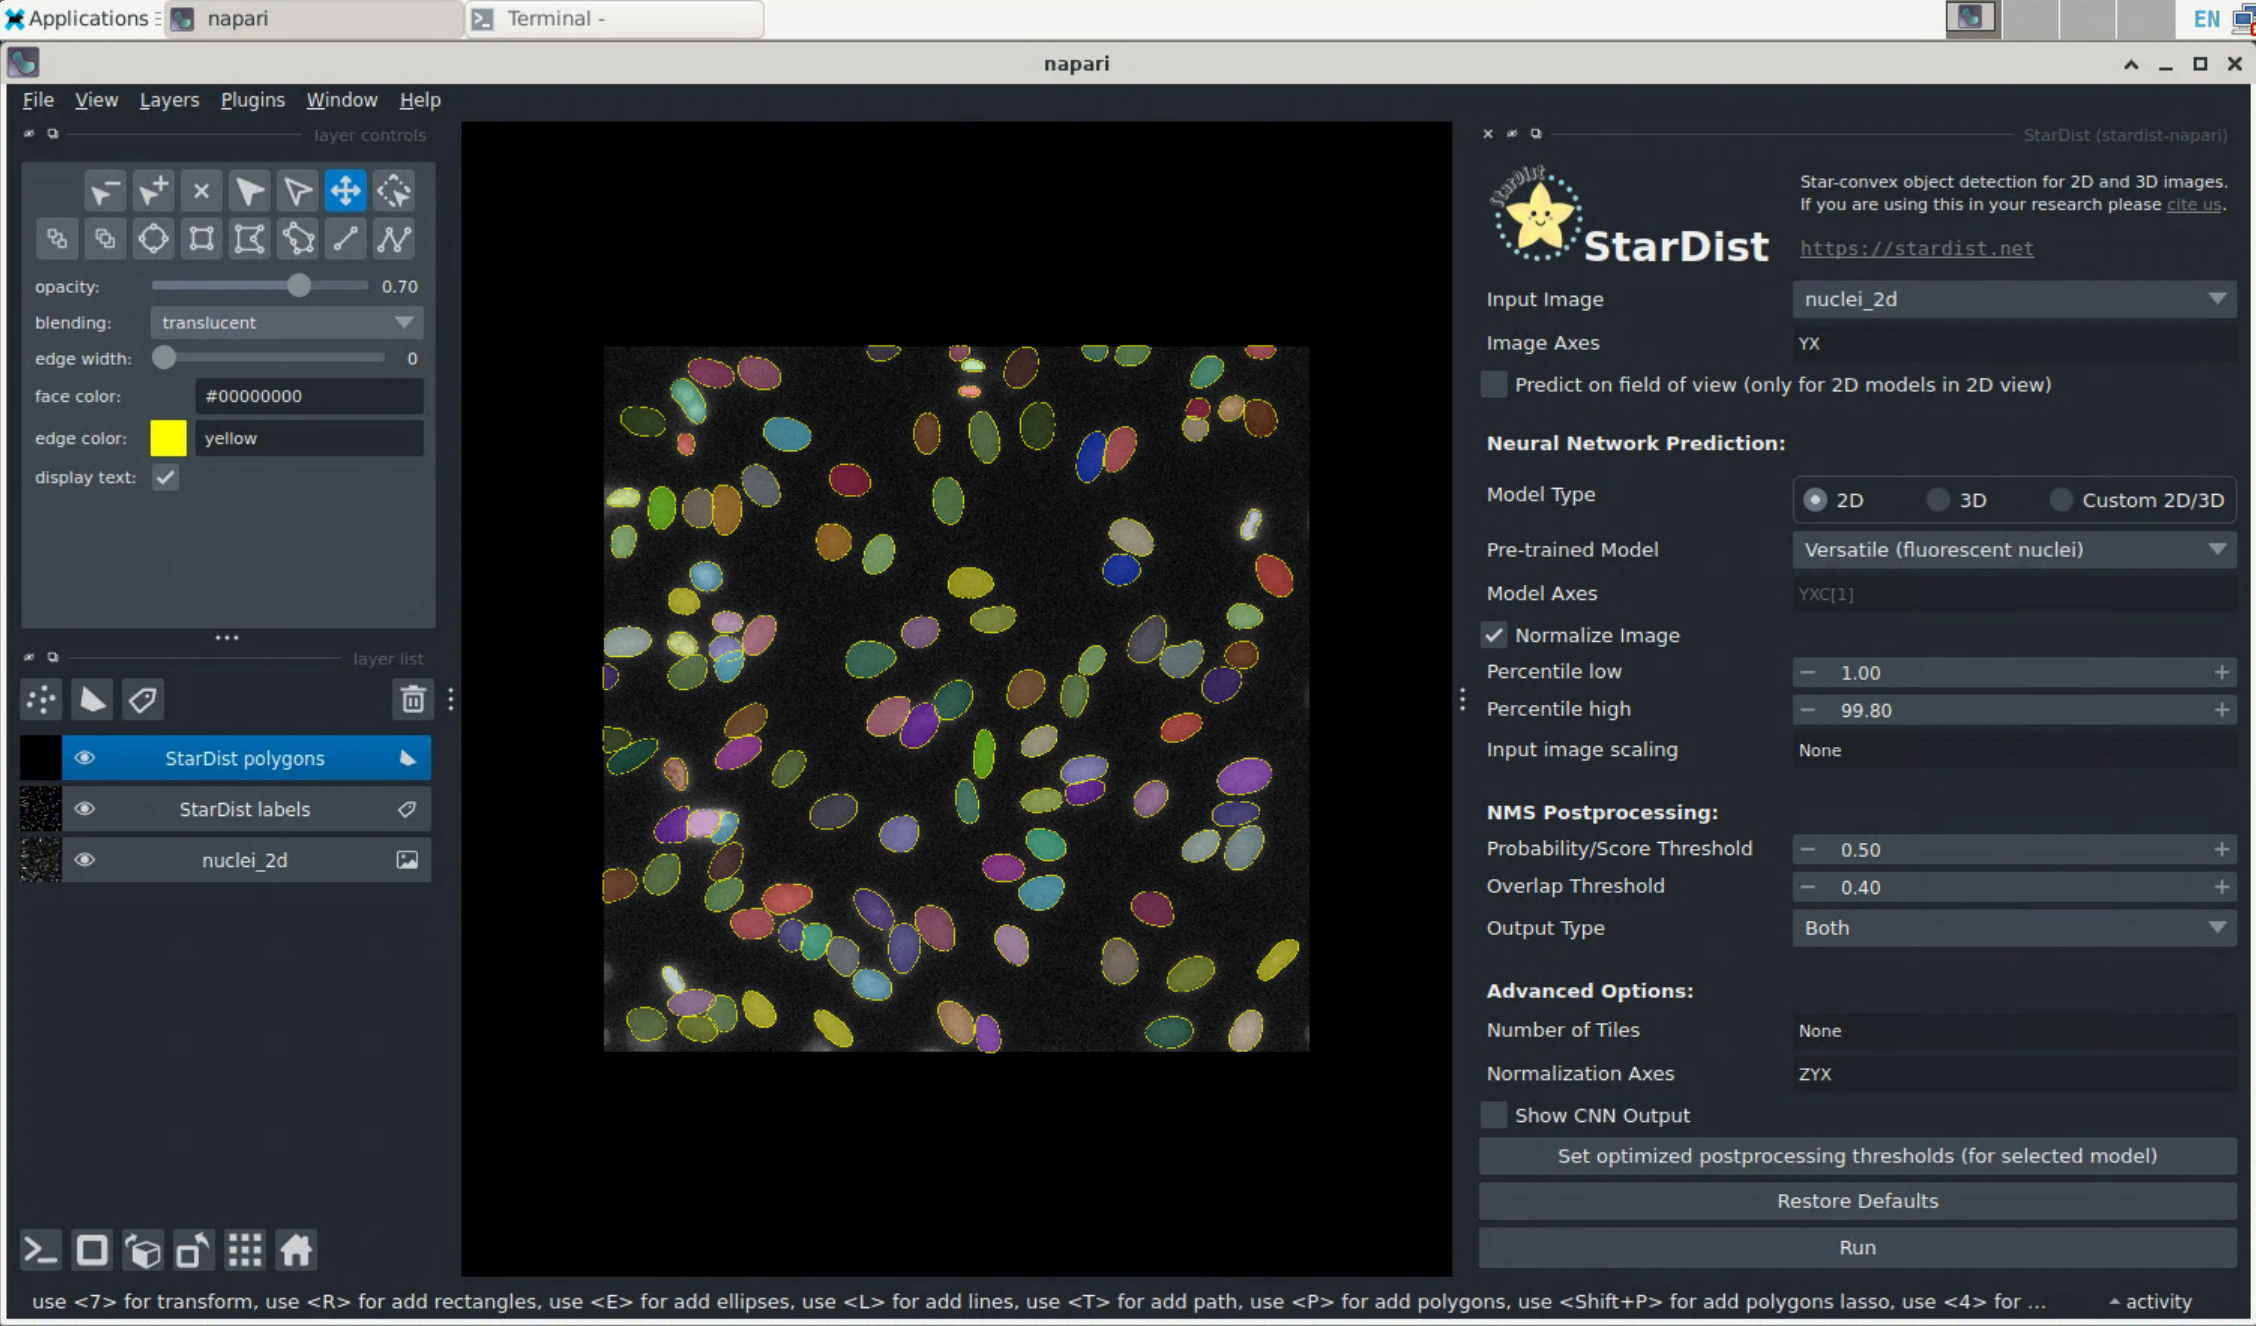
Example: segment nuclei with StarDist in napari
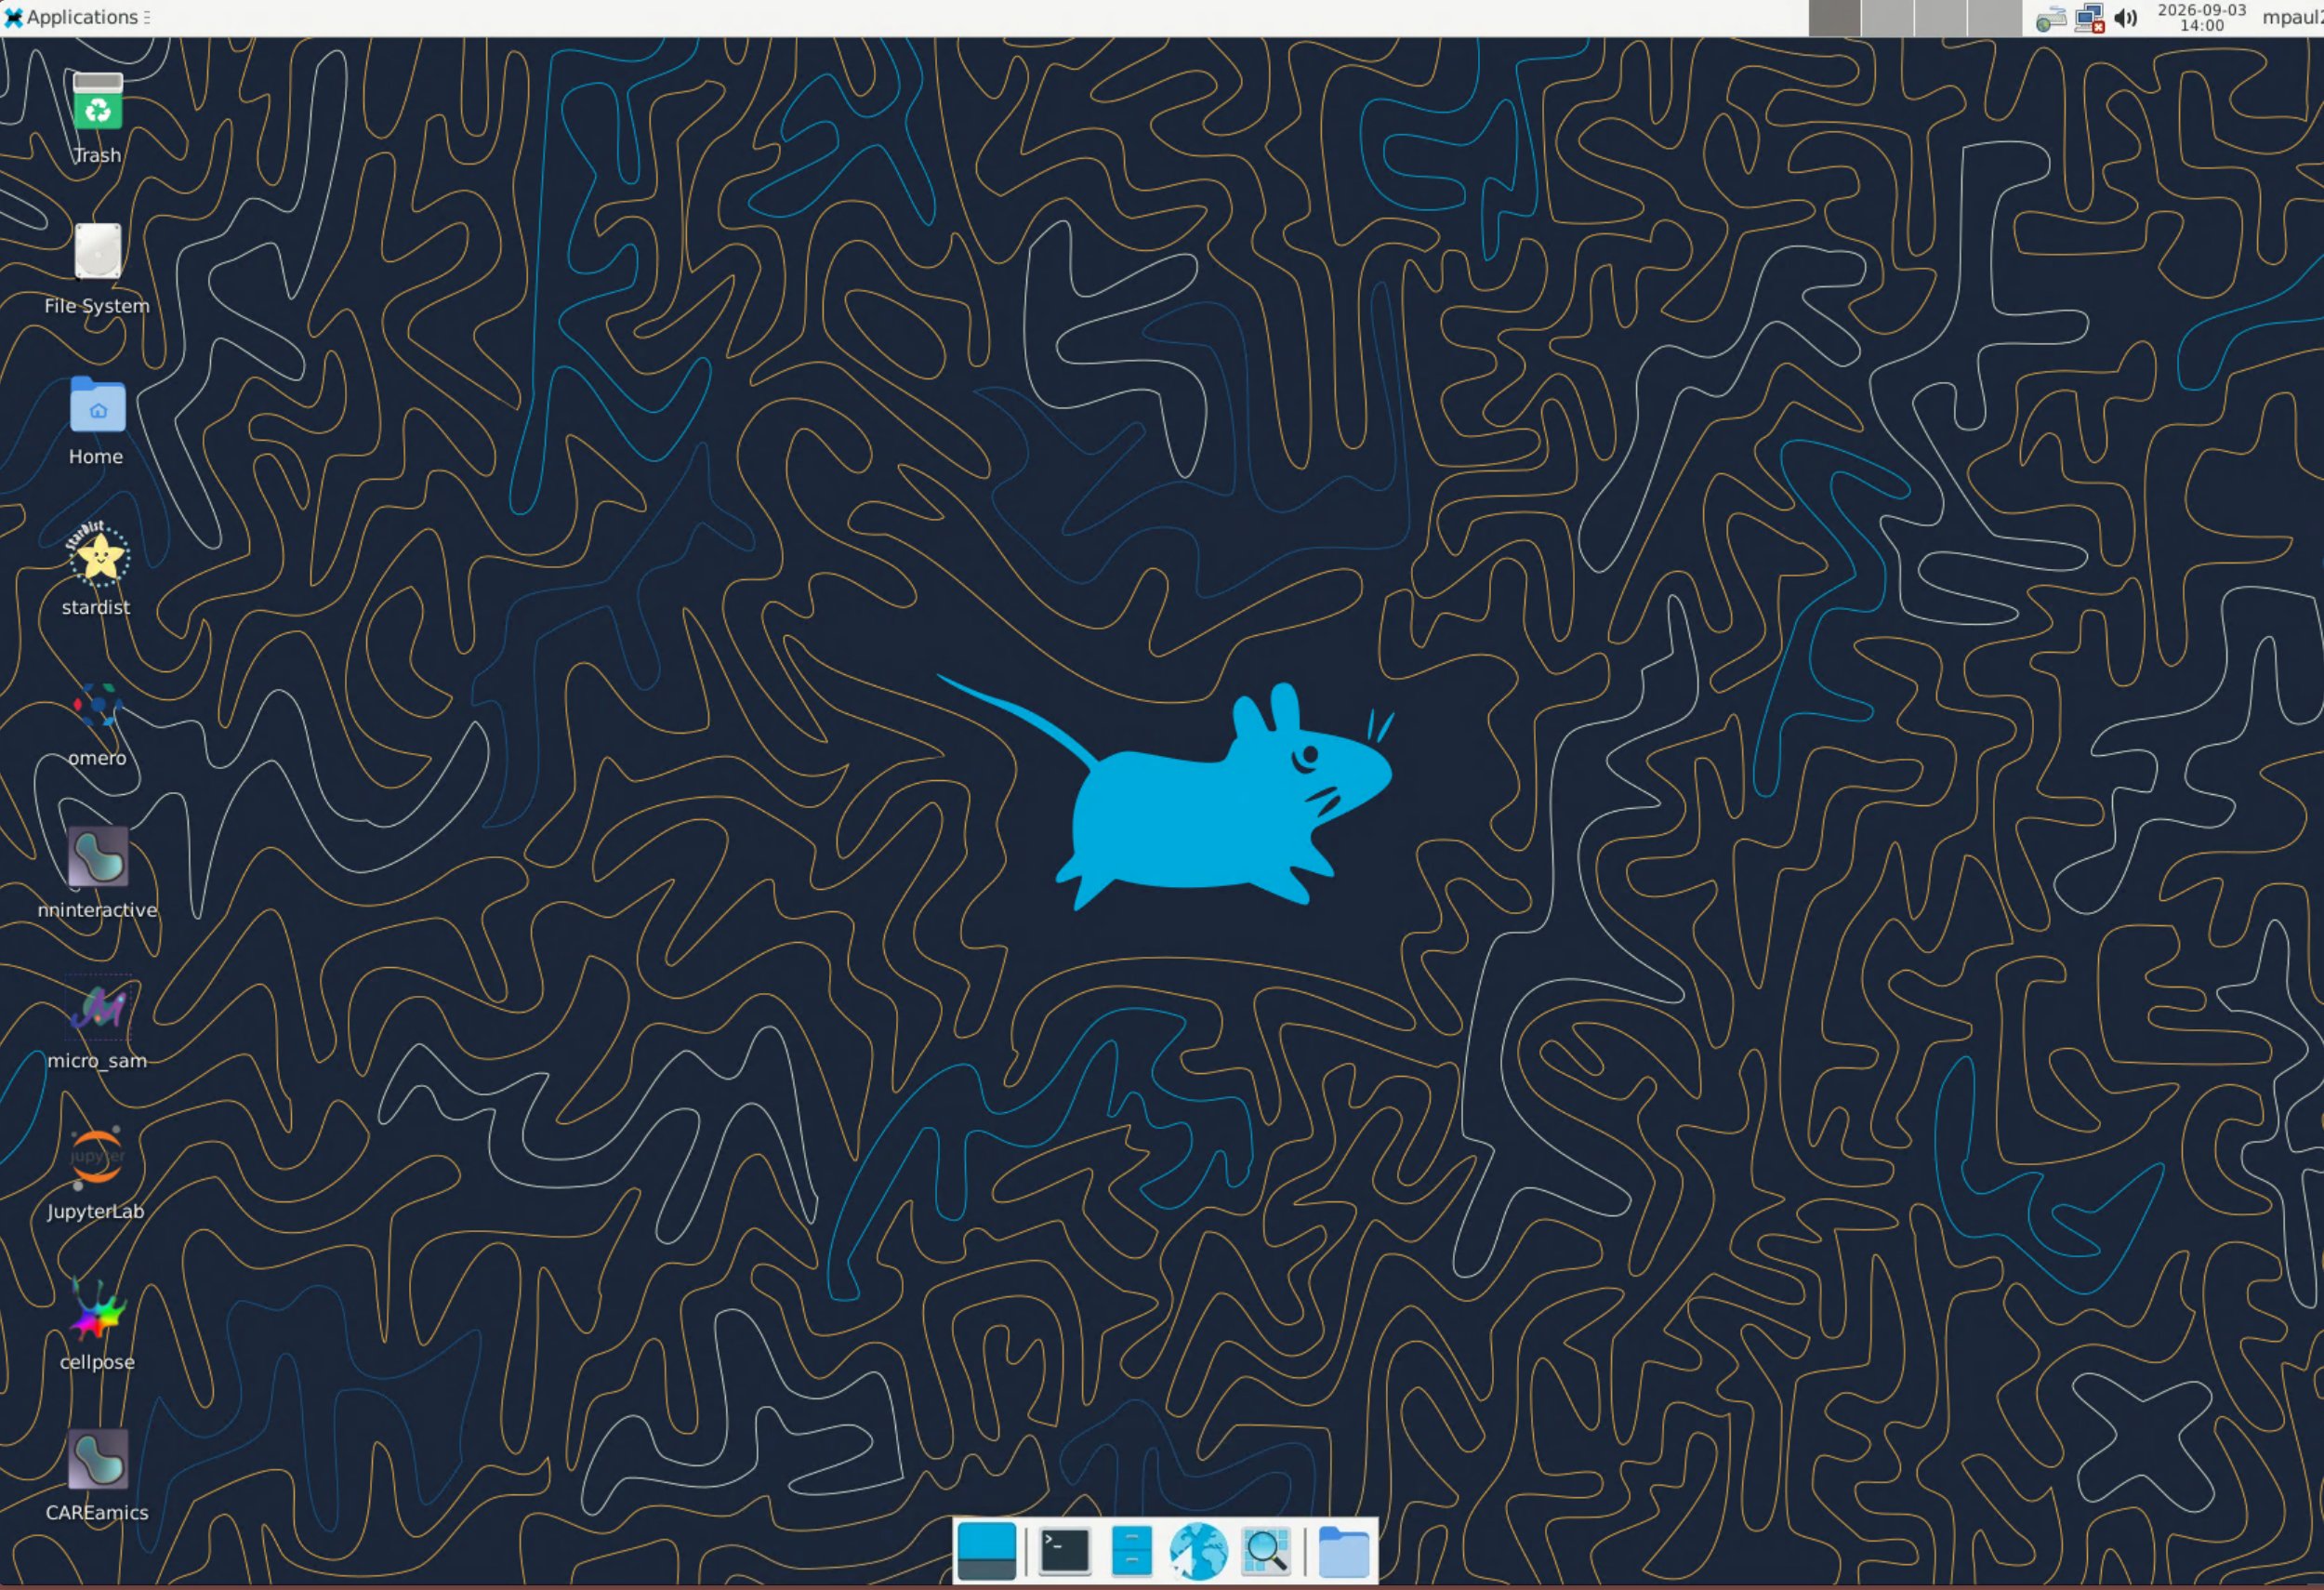
Double-click the Stardist icon on the desktop. This opens napari with the stardist-napari plugin installed.
Open a sample image:
File → Open Sample → stardist-napari → Nuclei (2D).Open the plugin:
Plugins → Stardist.Press Run. The segmentation appears as a new layer. The first run downloads the model, so it takes a while; later runs are fast.
3. JupyterLab
Besides the desktop, you can also work in JupyterLab. It runs on the desktop workspace too, or on a separate Jupyter workspace.
Desktop workspace: start JupyterLab from its icon on the desktop. It opens in the desktop’s browser and runs inside the desktop.
Jupyter workspace: JupyterLab opens directly in your own browser.
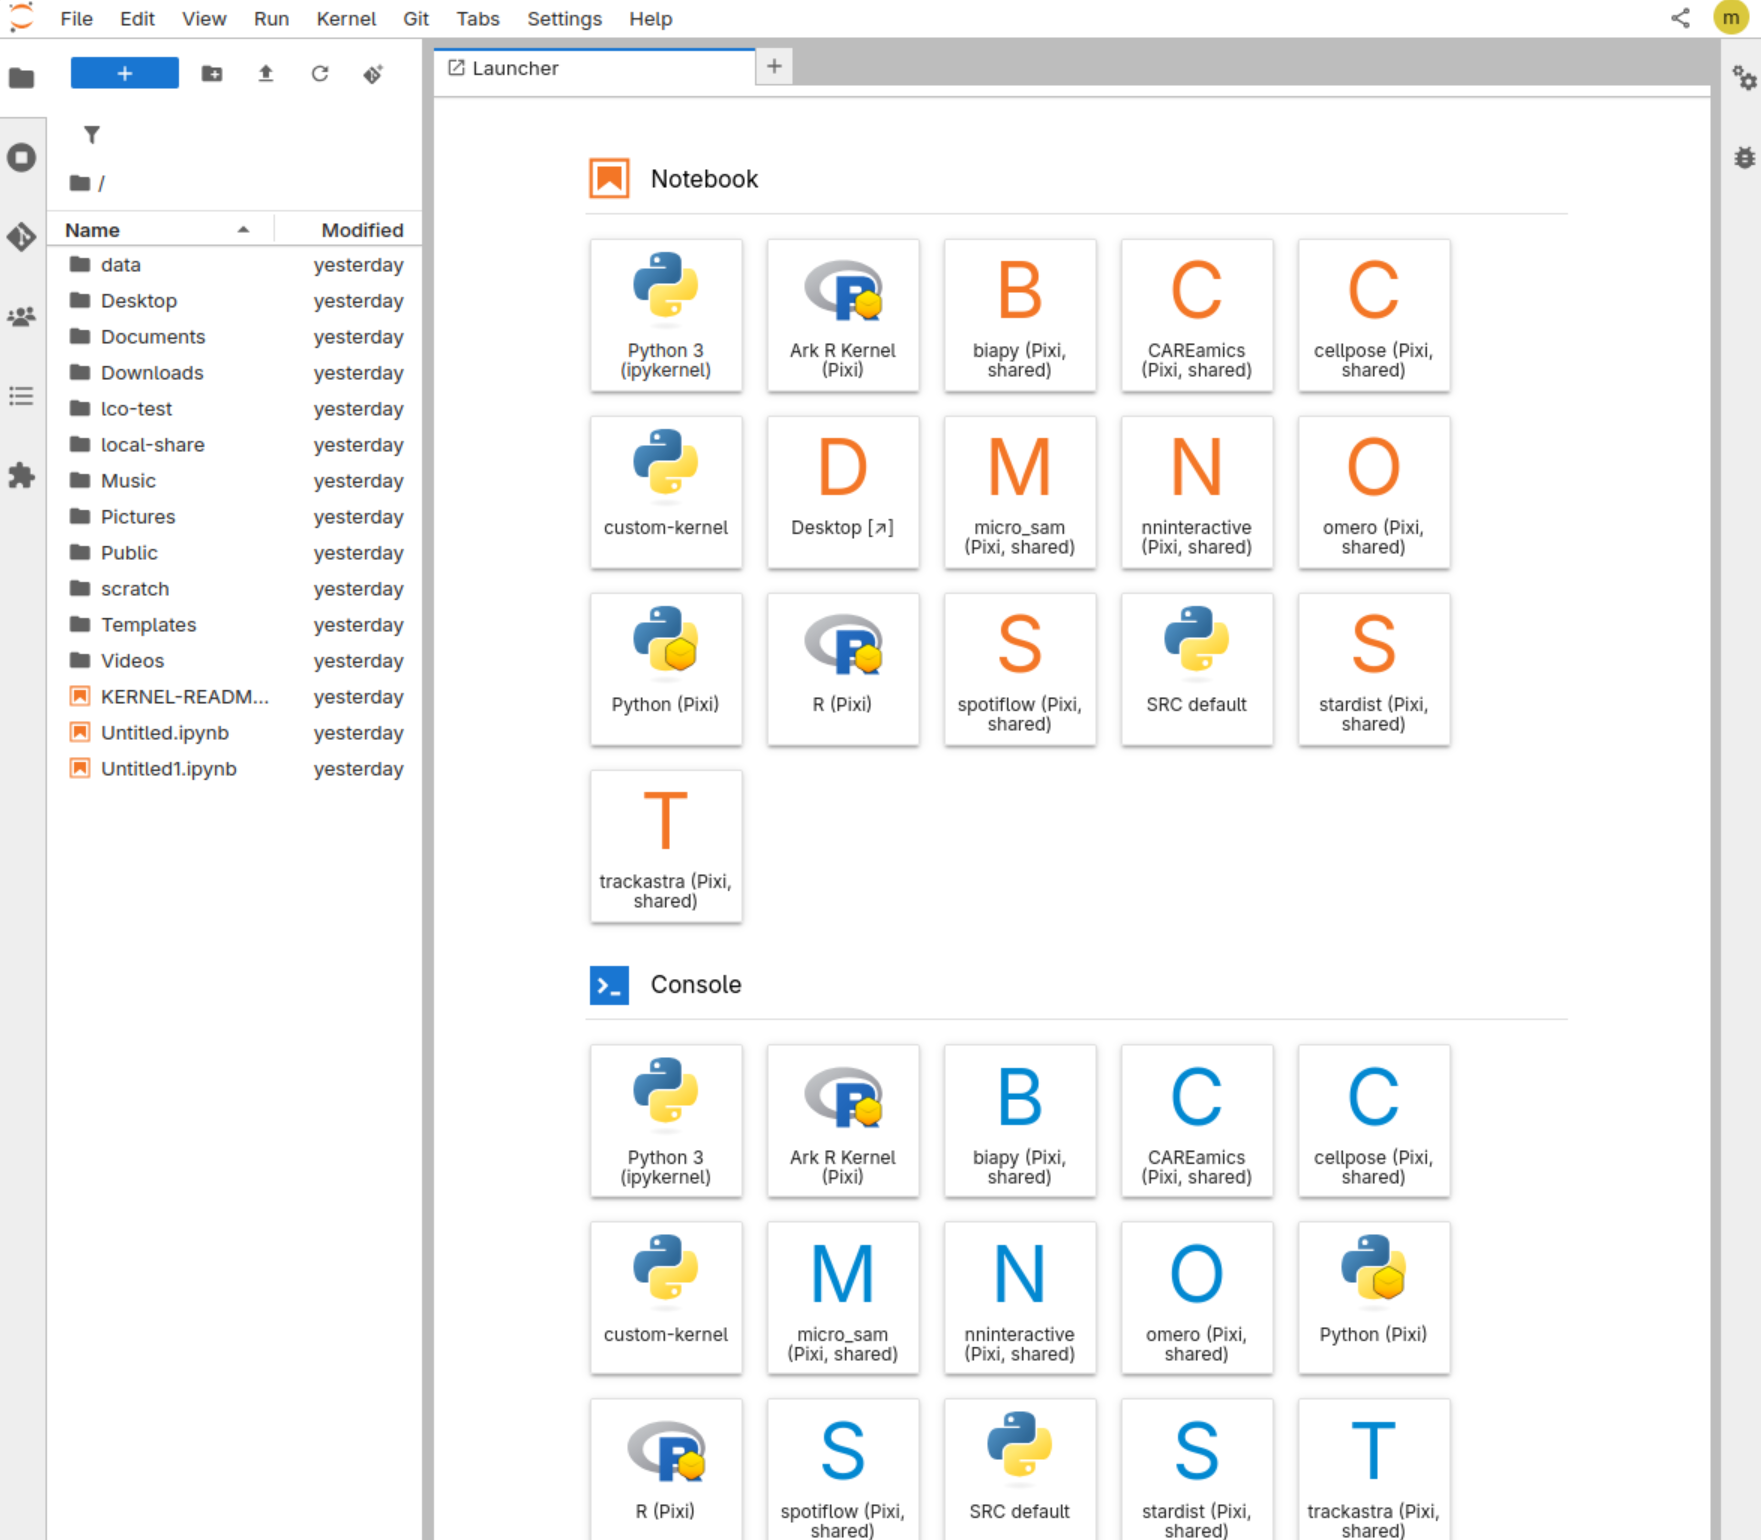
JupyterLab comes with several Python environments preinstalled, one per tool (biapy, cellpose, micro_sam, stardist, …). They show up as tiles in the Launcher.
Clone the repository
You can clone the course repository in two ways.
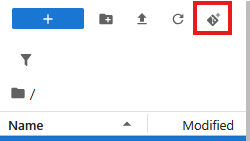
Using the Git button. Click the Git icon at the top of the file browser, paste the repository URL https://github.com/NL-BioImaging/NL-BioImageAnalysis-course2026 and click Clone.
Using a terminal. Open a terminal via File → New → Terminal:
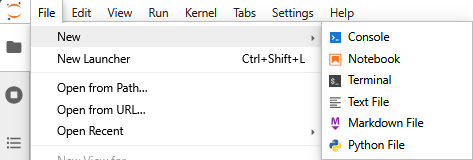
Then run:
cd ~
git clone https://github.com/NL-BioImaging/NL-BioImageAnalysis-course2026
A folder NL-BioImageAnalysis-course2026 now appears in the Jupyter file browser on the left (press the refresh button if it doesn’t).
Pick an environment
Open a notebook and select the environment (kernel) for the tool you want to use.
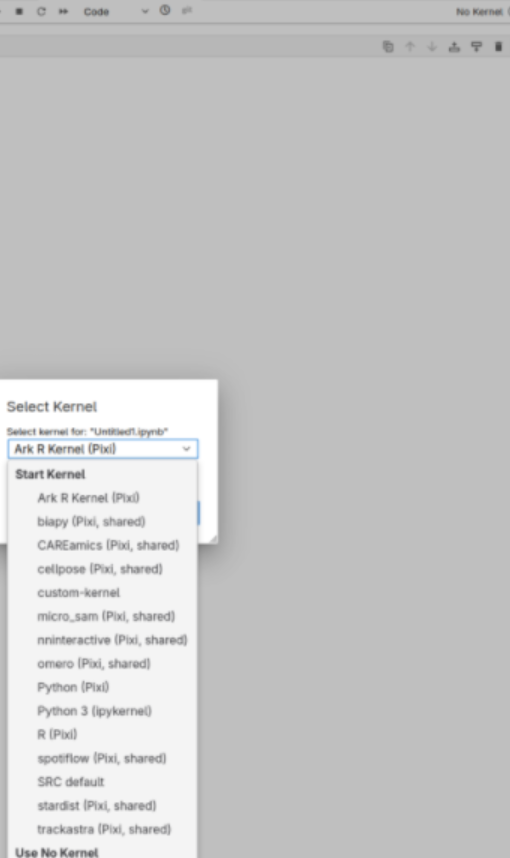
Jupyter workspace only
The Launcher also has a Desktop tile, which opens the desktop in a new browser tab.
Install your own conda environment
The preinstalled environments cover the course. If you want your own, first enable conda in a terminal:
/etc/miniconda/bin/conda initOpen a new terminal, then create and activate an environment. Include ipykernel so JupyterLab can use it:
conda create -n my-env ipykernel
conda activate my-env
Install the packages you need, then register the environment as a kernel:
python -m ipykernel install --user --name my-env --display-name "My environment"It now appears in the Launcher and in the kernel list.
4. Transfer data
Jupyter workspace. JupyterLab runs in your own browser, so its file browser can move files both ways: drag them onto it, or use the upload button (arrow icon) at the top, and right-click a file and choose Download to take it home. Convenient for small files.
Linux desktop workspace. JupyterLab runs inside the remote desktop, so dragging a file from your own computer onto it does not work. Instead, open the browser on the desktop and send your results to yourself with SURF Filesender.